
Kids love to paint, it is well known! There is a technique both beautiful and fun: watercolor on wet paper practiced in Waldorf Steiner schools.
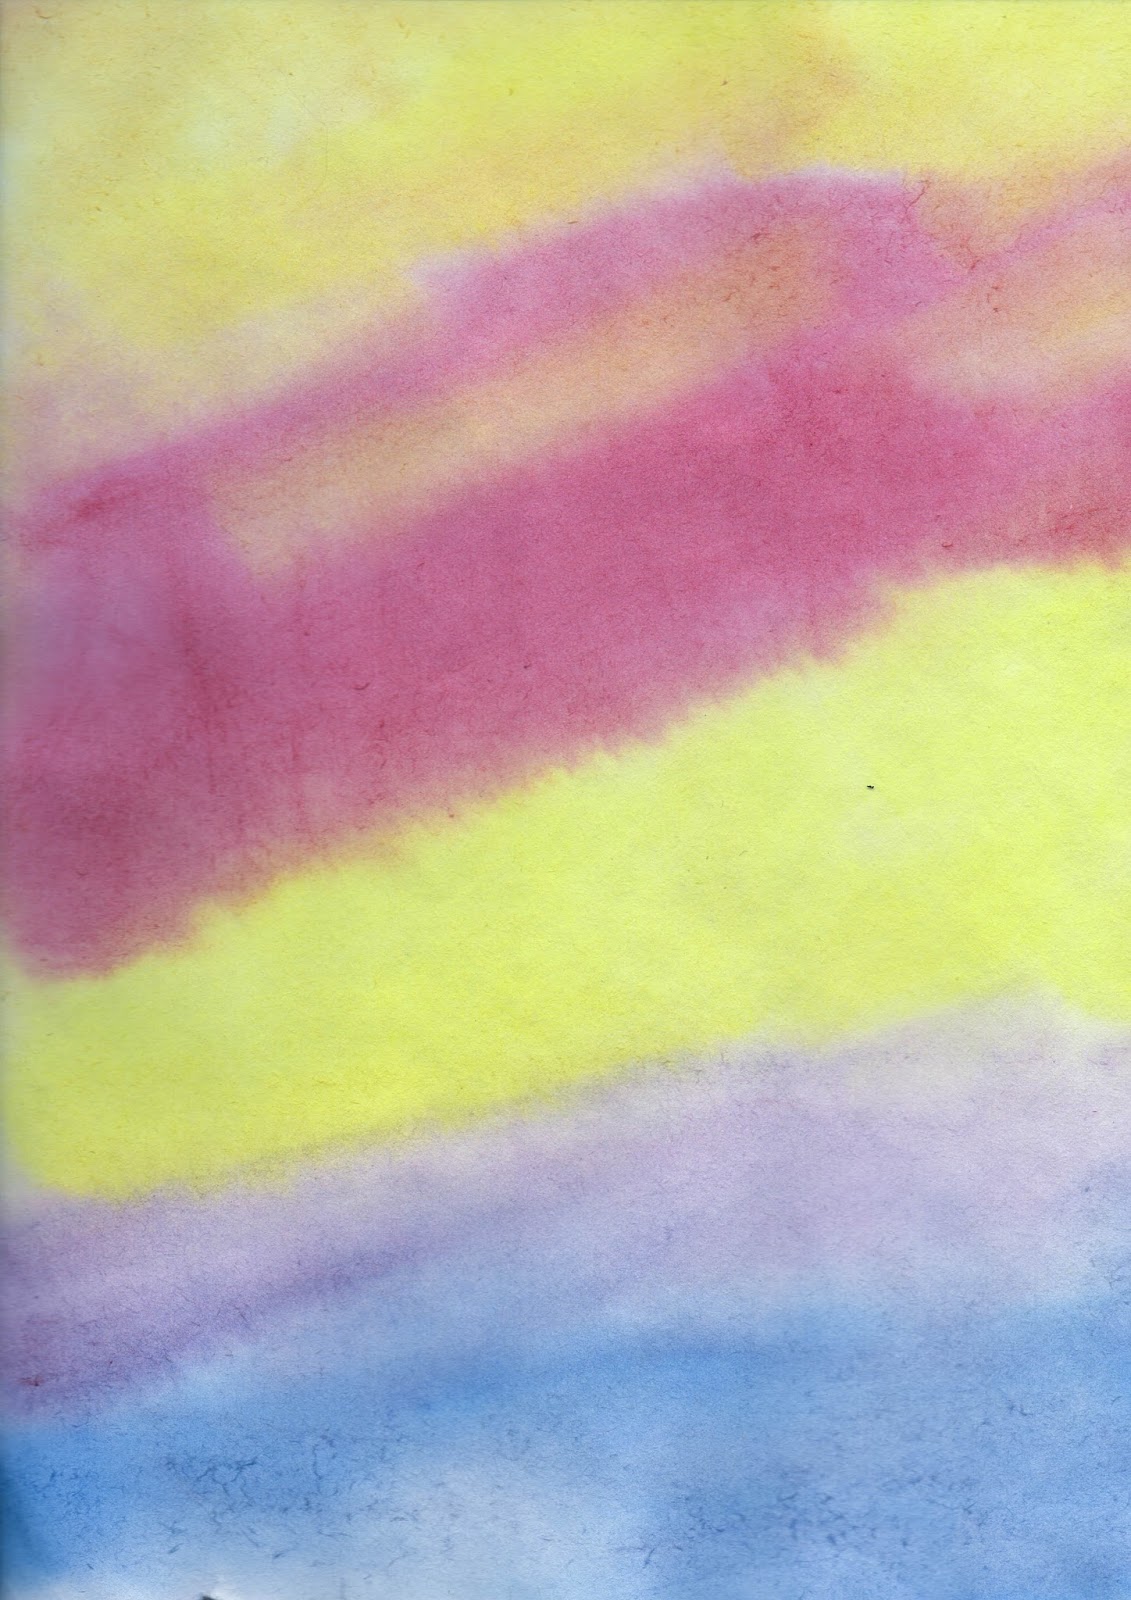 |
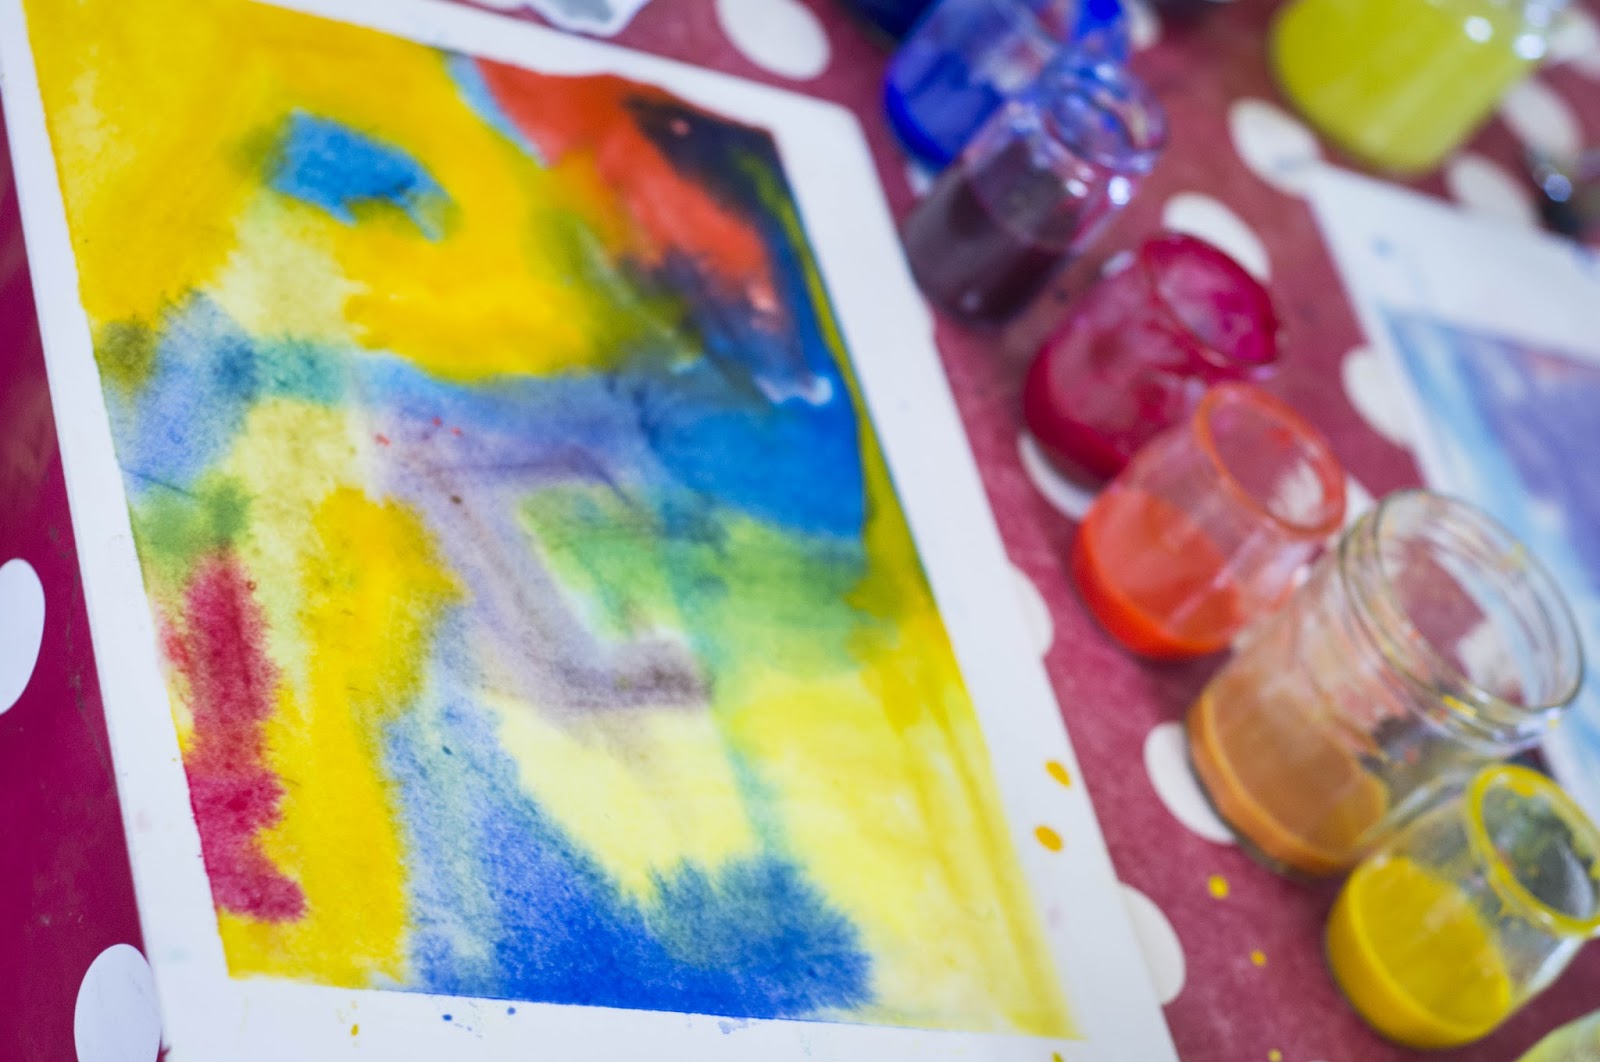
| Created by my 4 years old boy. |
That’s it? I gave you envy? So here’s the tutorial to get started and succeed this technique. Enjoy!
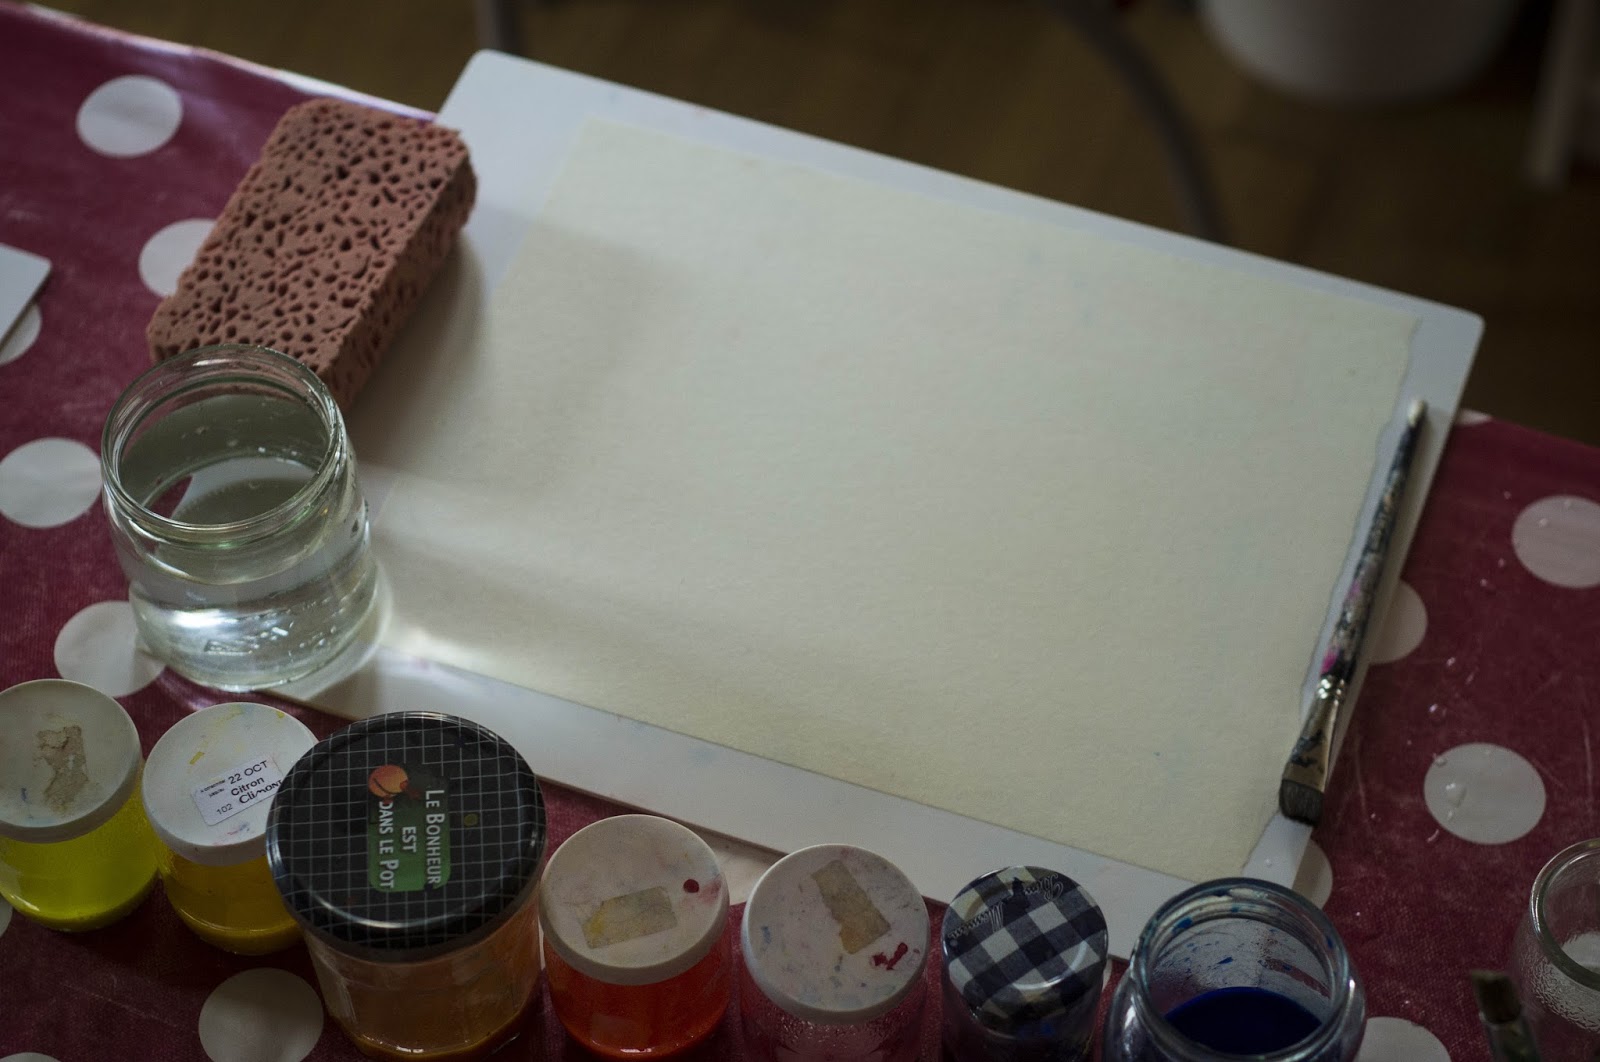
Here is the list of equipment you will need.
– Tray with water (or bath, washbasin)
– Special foil watercolor (I do not think the other sheet can withstand being soaked at this point without tearing …)
– Special brush watercolor (or very very soft brush, which makes no marks.)
– Painting at Stockmar (no escape!)
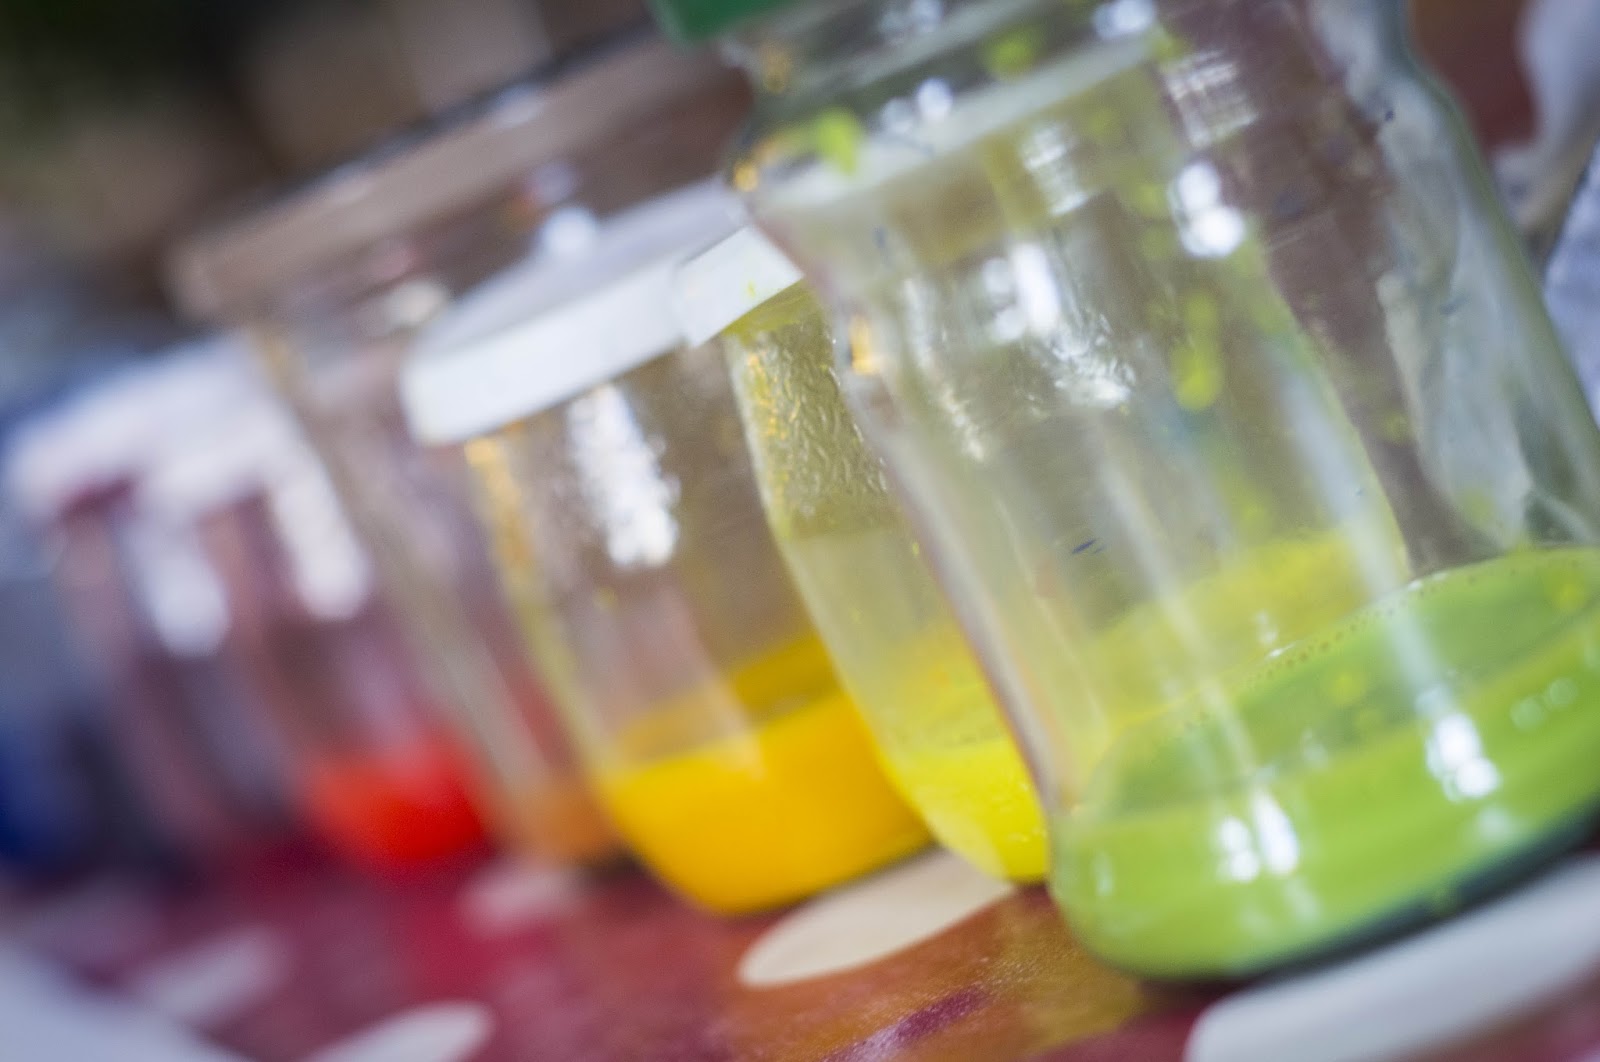
– Buckets or preserved in resealable glass (you will prepare the painting for several sessions in advance.)
– Wood or plastic boards that do not bend (it’s not only protect your table: you have what the boards can move (the drying time is long) without distortion (to avoid the paint flowing.) children like to make several drawings, do not hesitate to take surplus …)
– 1 sponge
– 1 cup of water per child for washing brushes
– 1 towel per child for the last residues of brushes
– 1 apron.
Preparation
The preparation is much longer than other paint (coming out of the pot.) Or you can prepare in advance, or you can prepare 1 or 2 colors only for each session and gradually increase the number of available colors is a nice introduction to the colors begin to see them separately (or 2 yellow together to create beautiful variations.)
-. Take a bit of paint Stockmar (depending on the amount you want to prepare in advance Even if it keeps well in the fridge, it might be contaminated with another color later by children, which completely ruin the pot !)
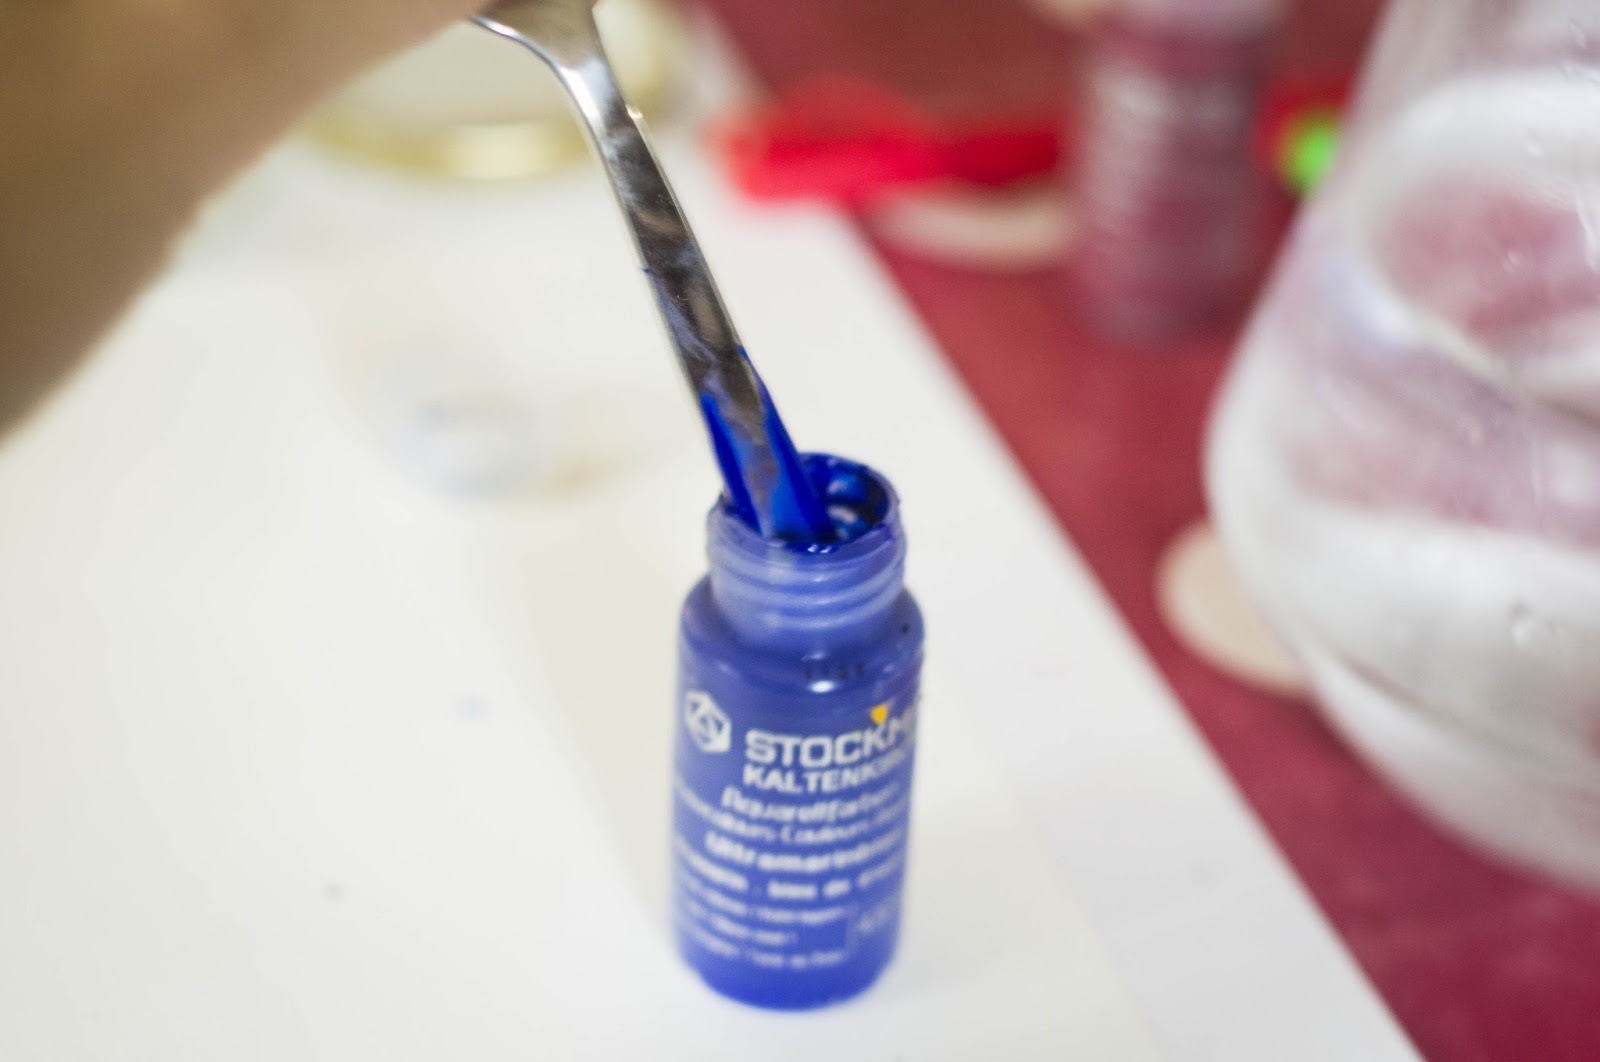 |
| This is enough! |
dilute with a little water (added in increments of few to be sure not to drown the color!)
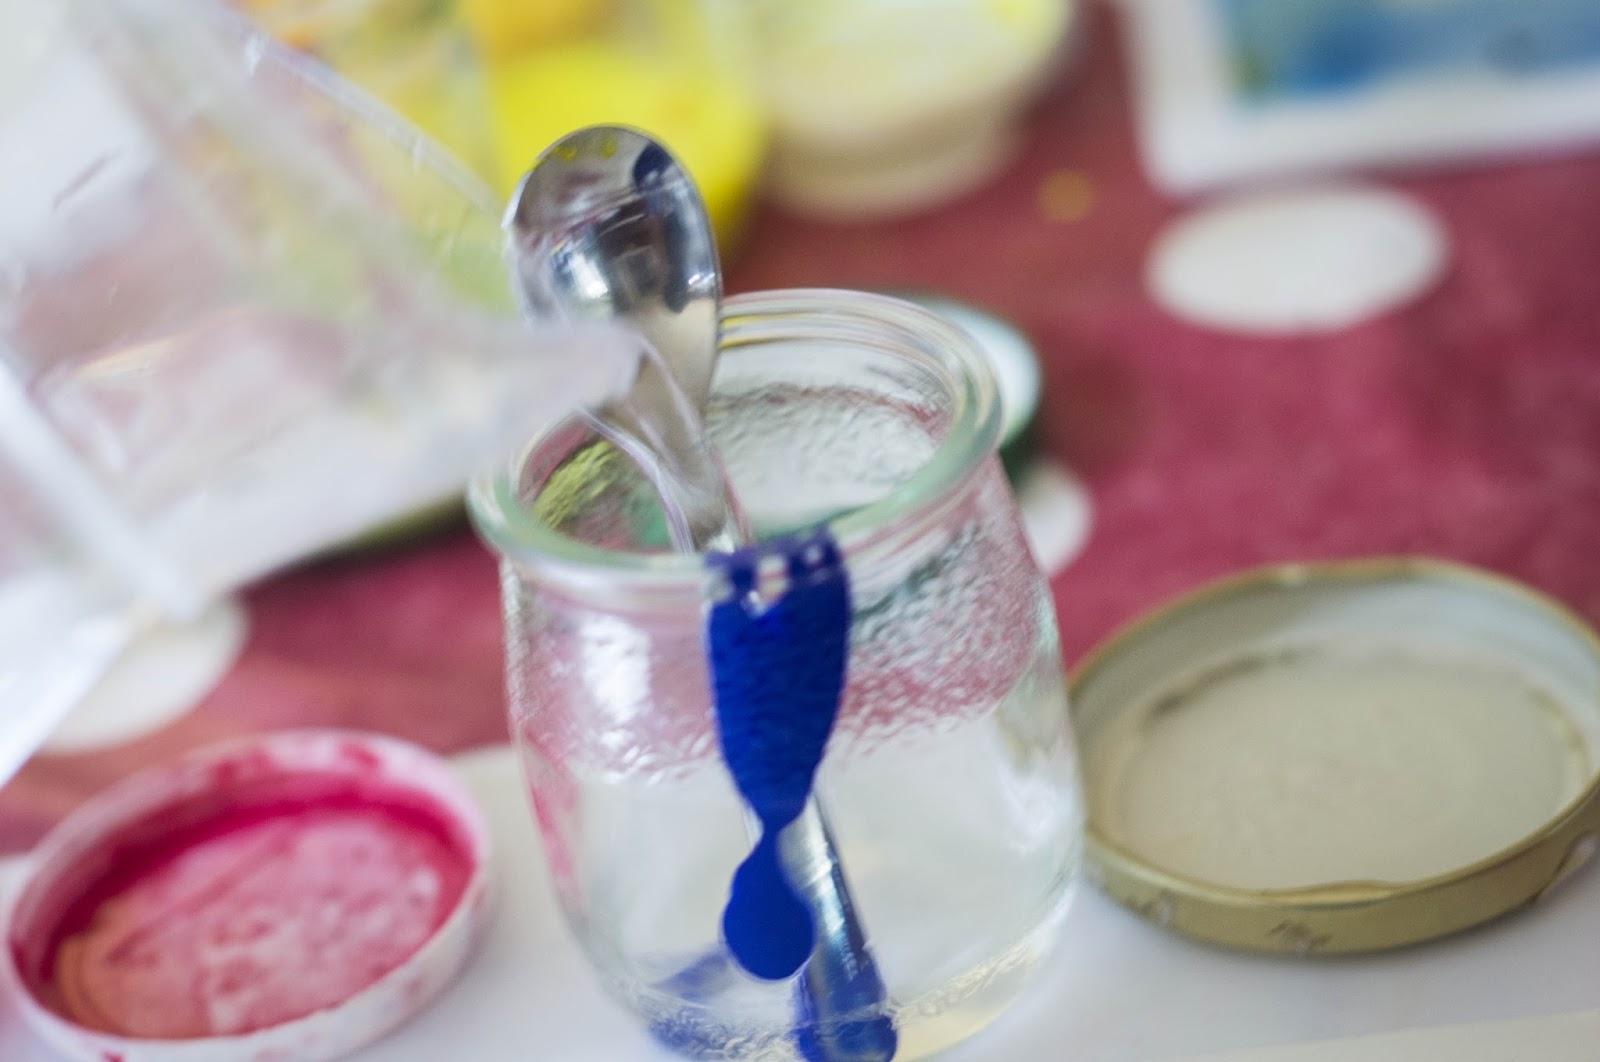 |
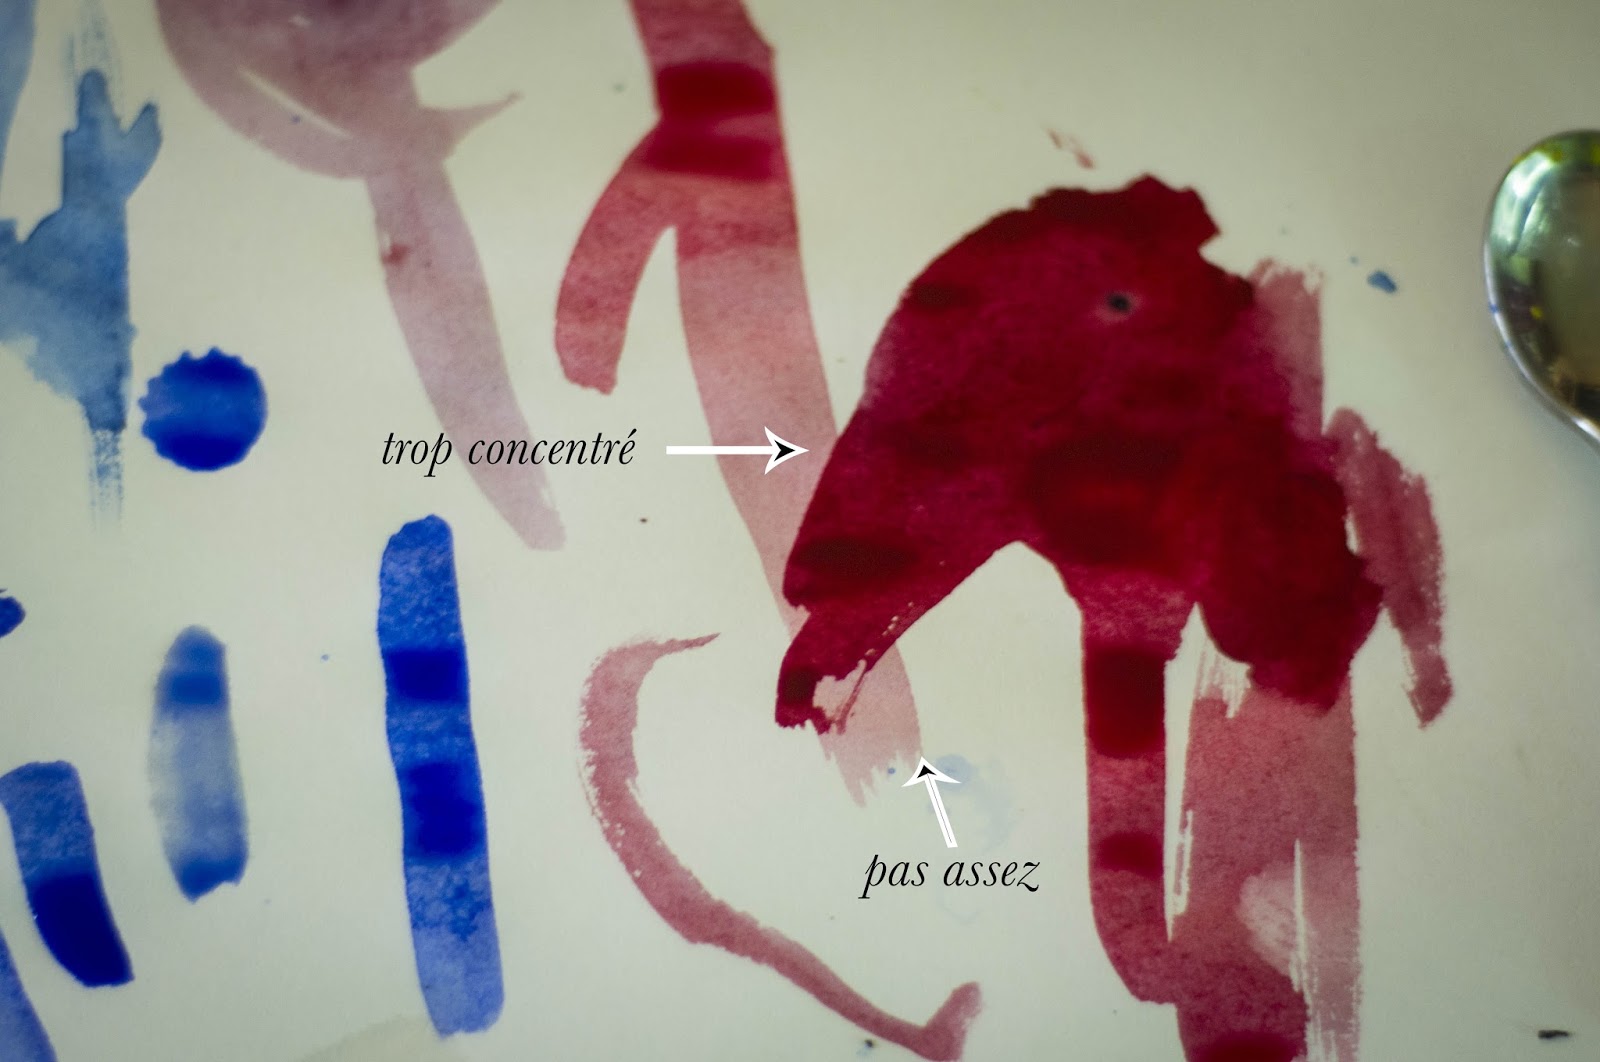
| Here… too much |
Experiment on a sheet to see if the concentration is good: as everywhere, it is balance that we aim nor too bright nor too dark.
 |
| Differents variations… judge yourself! |
Small reminder of the colors you’ll use less crude blue (out of the pot) as yellow for the same amount in your bucket (yellow crayon harder). In general, I dip only the tip of a teaspoon of preparation (yes, paint pots are expensive but you’ll keep the long !!!!)
– Place the plates at each place with a sponge, a brush and a child.
 |
| Almos done. |
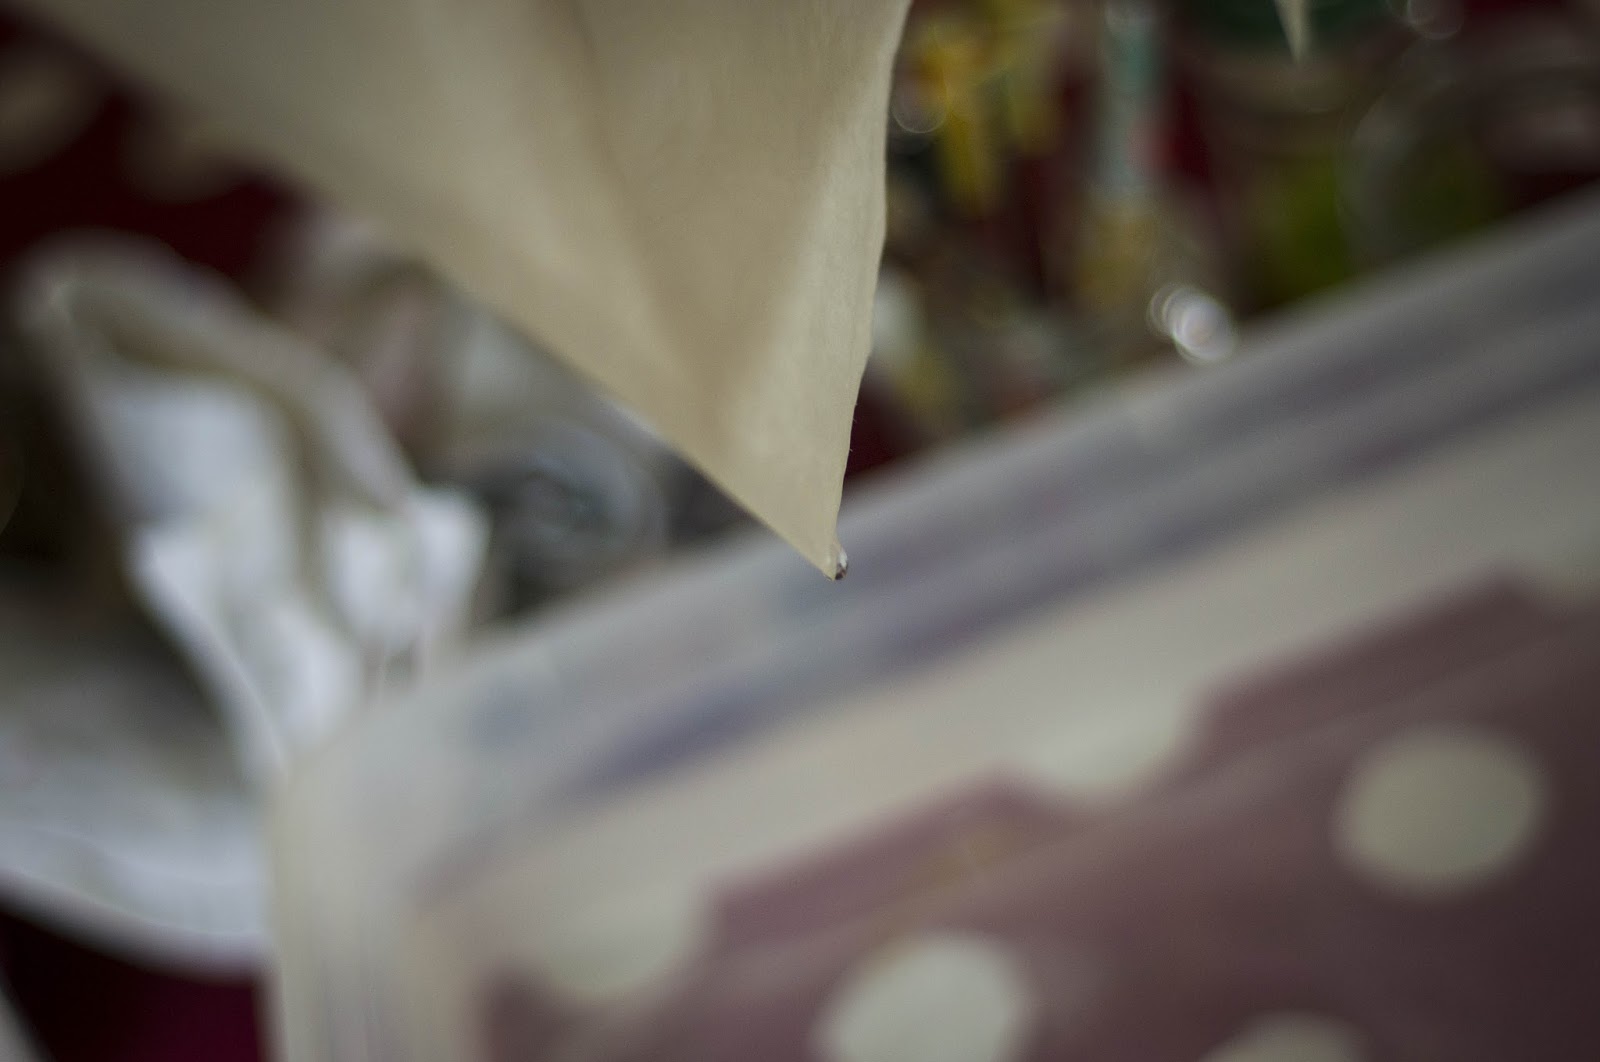
– Remove gently paper in the tray of water (. Dragging by a side if it is not subjected to stress, it will not have marks.) A single sheet by soaking, otherwise they stick!
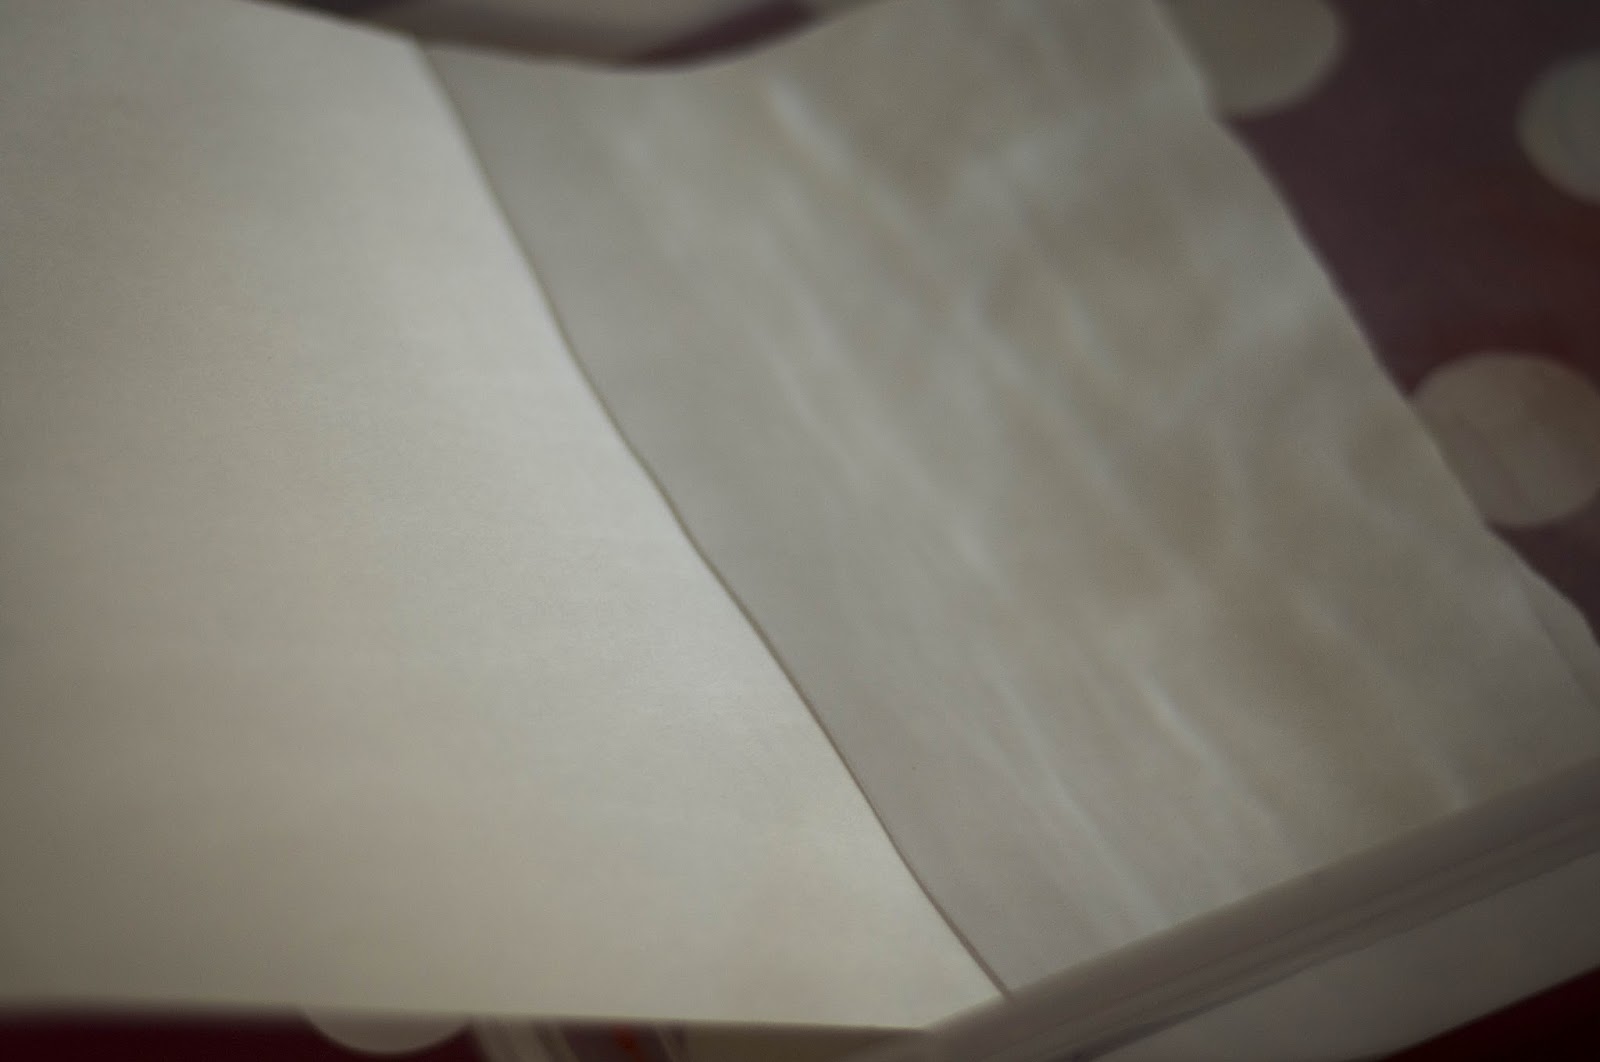 |
| Sheet is slowly introduce in water. |
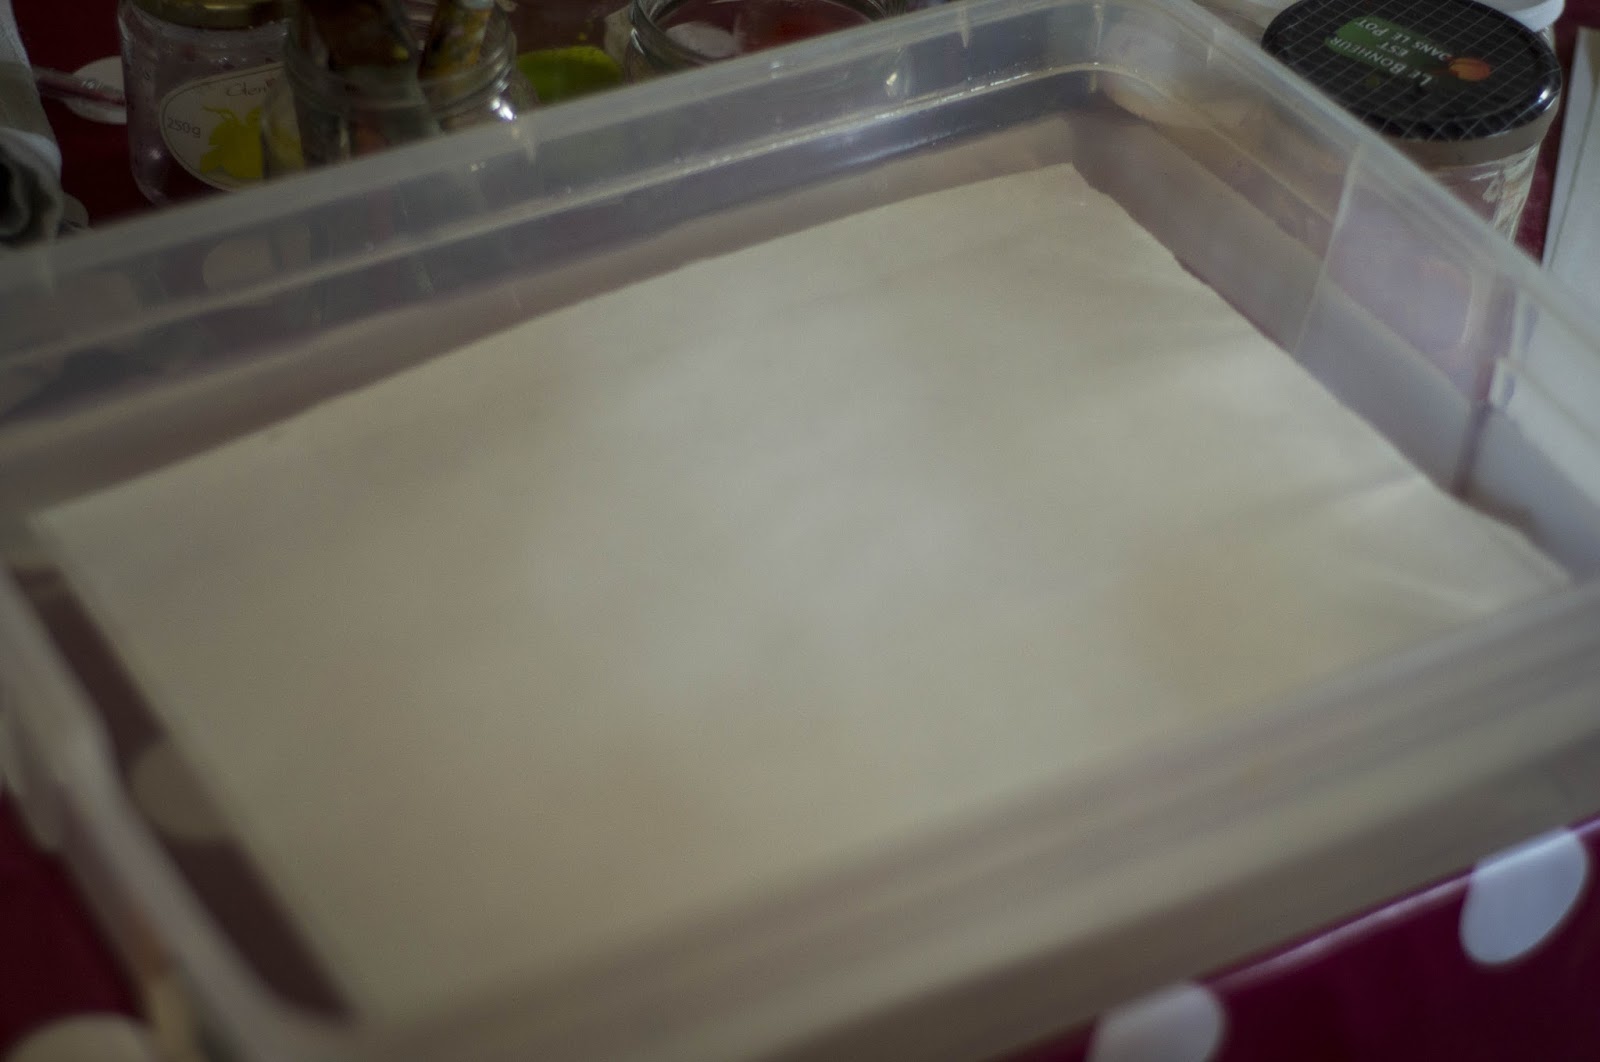 |
| 1 or 2 minutes in is enough |
The painting session
– Start with a song, a poem or just a story. This may be a story about the season and its colors, the yellow adventure that could from his house, sun, to get into this jar (especially if you make the painting with the children, to make them wait a little.)
Later, you can tell a story at the meeting: it may be Mr. and Mrs. Blue (painted in blue) that invite home Madam Rouge (paint on the same sheet of red), and during the meal, surprise ! Mr. Violet gets to turn the meal without being invited (but what fun to see!)
I personally gives no specific direction. This is a color. We must let go to have fun, and it’s much easier if we have any results in mind … I encourage you to paint with your children and let you invade by the colors, to see what causes yellow in you, if you get bored with a single color or not … to understand this painting, go through the game step, mixtures on the sheet, before wanting to do more complex things. There is already so much to do: pure abstraction or geometric shapes, rainbow sky, shades of one color or one of several …
– Children will have to start by cleaning their plates (at future sessions, your boards there are still all clean.)
 |
| Drain maximum |
– Remove the sheet of water, make it drain as much as possible. Placing one hand on the board, and lower the sheet very gently to avoid bubbles maximum (it reappear drying!)
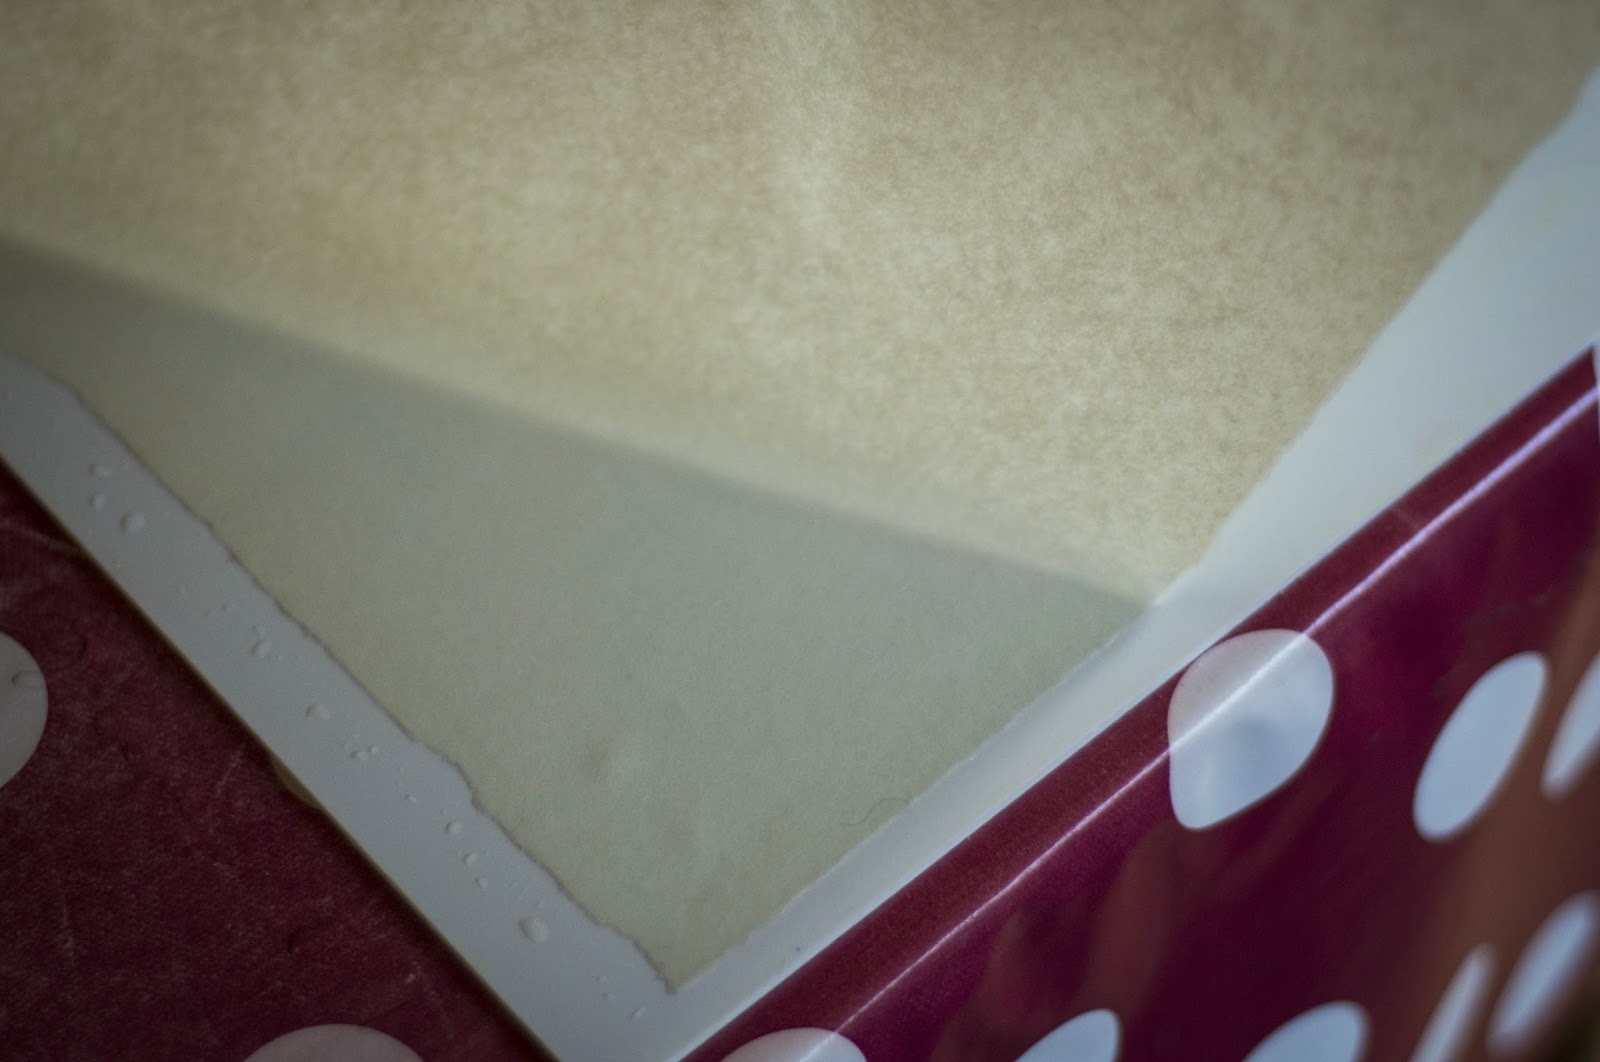 |
| Remove gently … |
Despite your attention, there always will be. This is where the sponge comes into play! Remove bubbles with little return to the same place where the leaf peel. This will be the child to do for the next sessions.
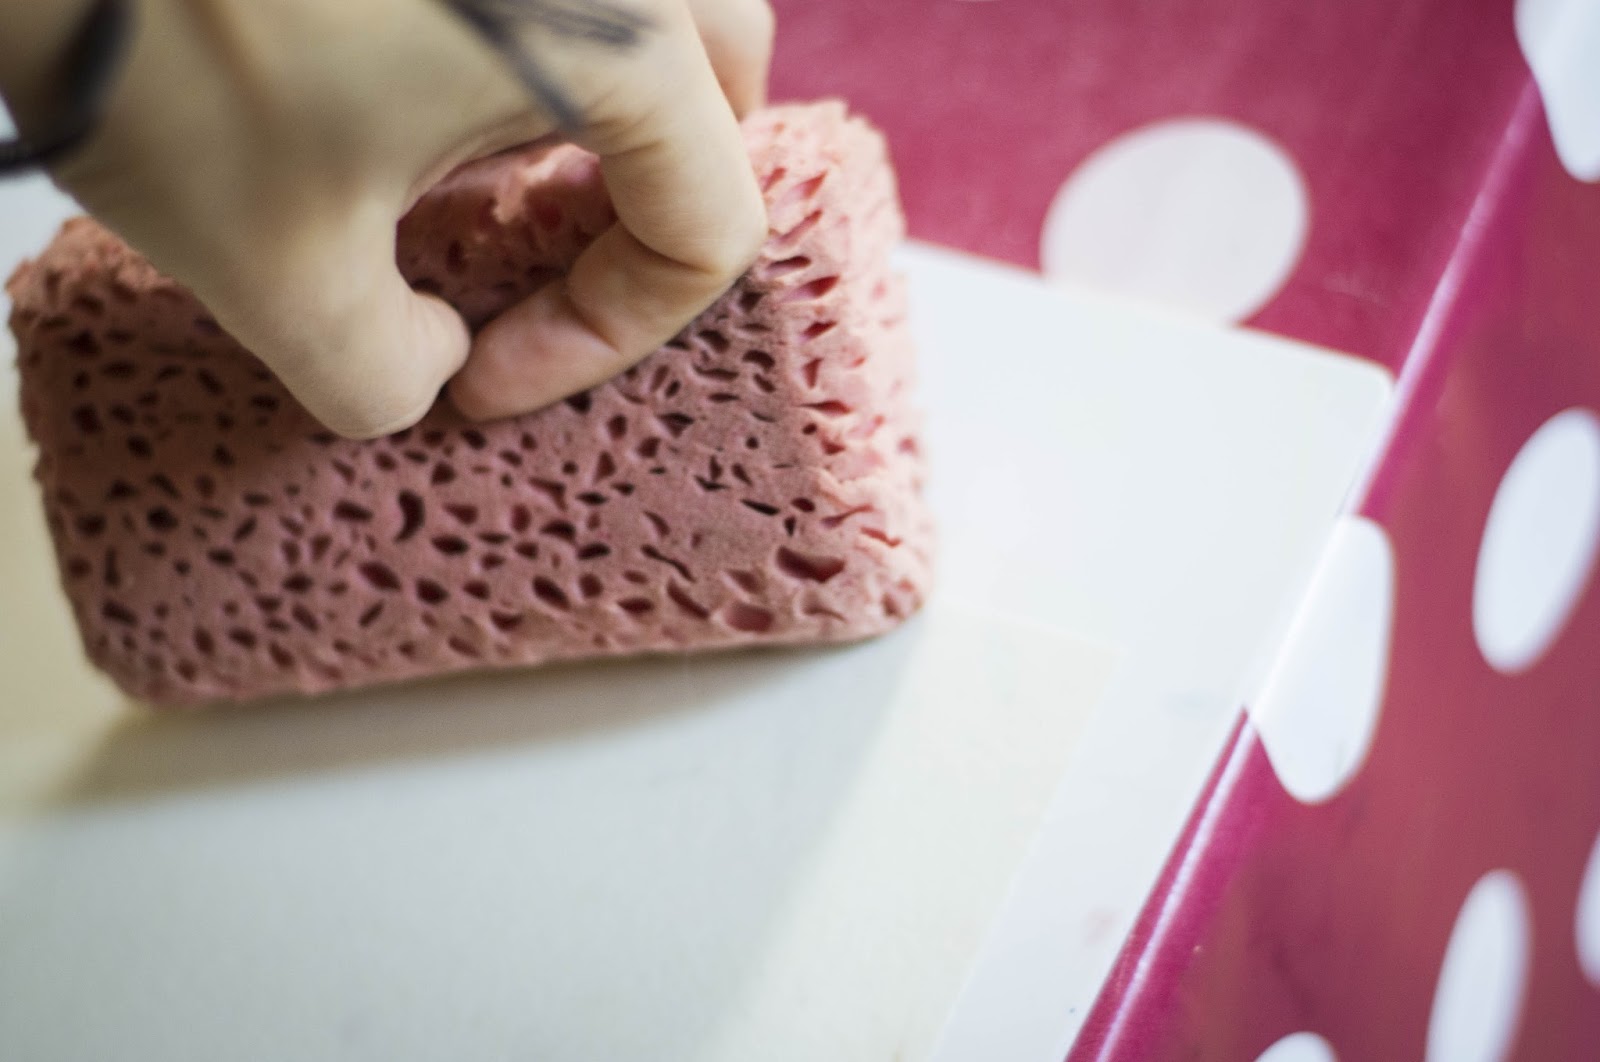 |
| Slowly, always slowly. |
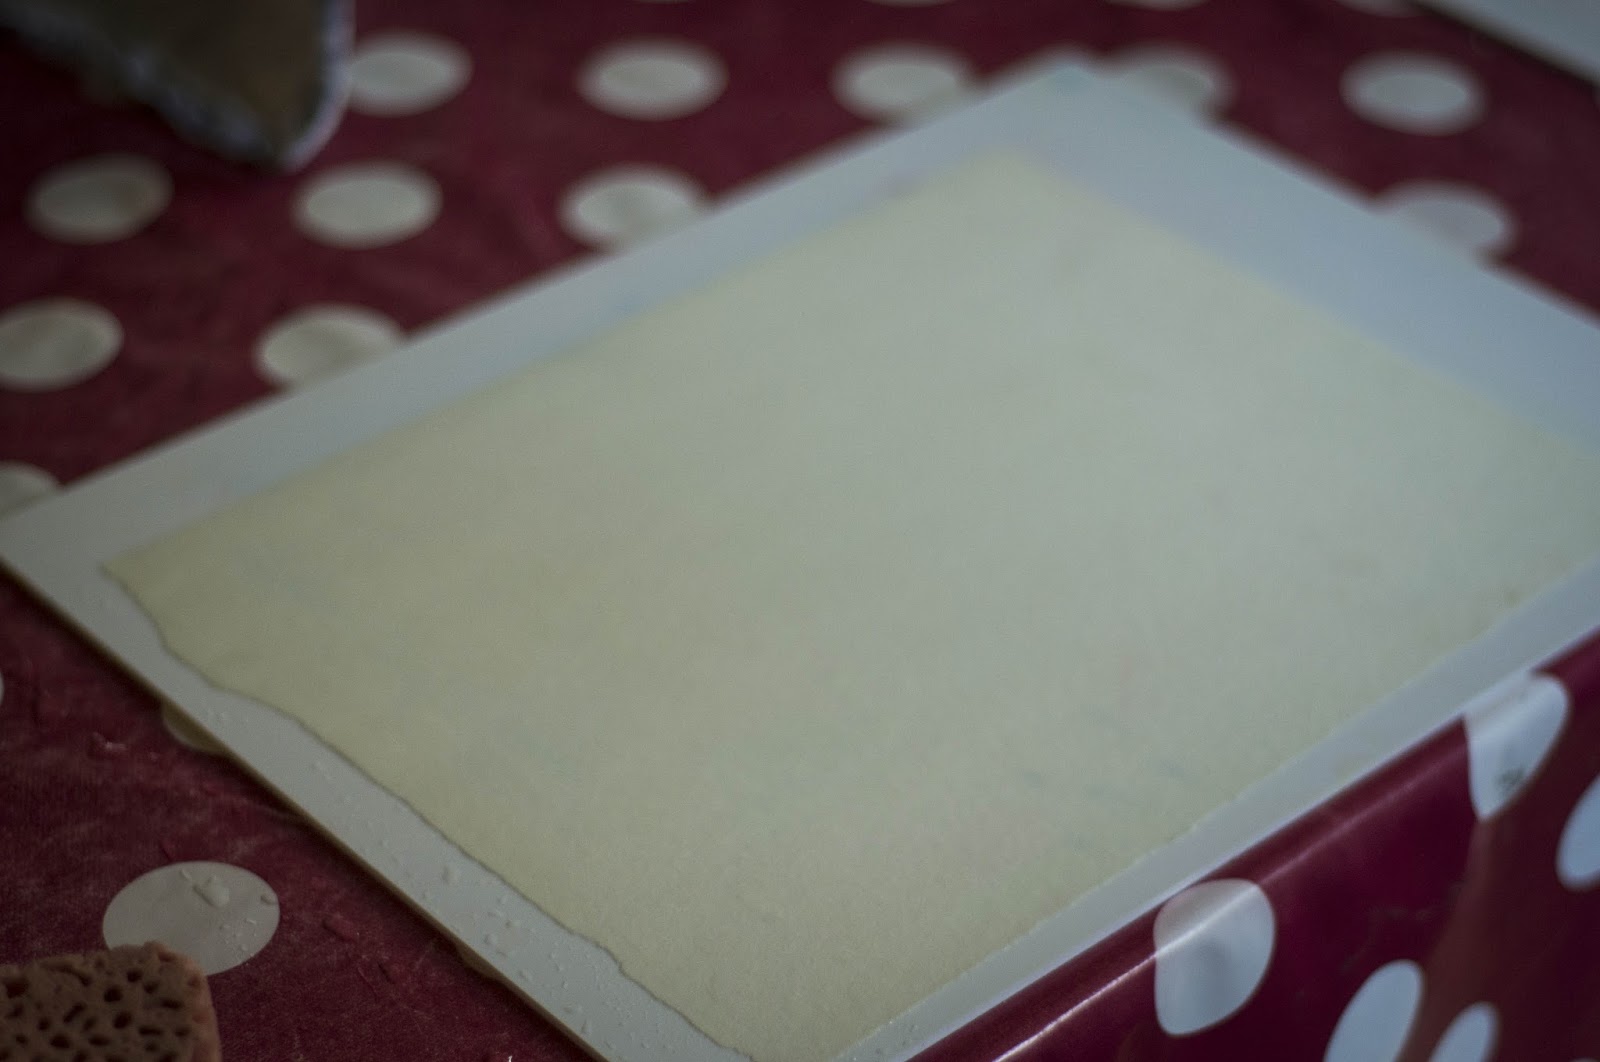 |
| This is what should be obtained after the passage of the sponge: the sheet is fully pressed on the board! |
– Dip the brush into the bucket. Paint smoothly. The gesture will gradually but the first time, the sheet may peel. Show the child there, the sheet was bad! More must be done carefully because it will remain after drying!
– At each change of color, explain need clean water to brush and remove the color remains with the cloth. The colors are so pretty …
Finish
 |
| Let it dry |
– Put the boards in the corner to dry, flat (for the day or overnight, as it will take several hours to dry, place them safe.)
– Close the bucket, throw the colors that were mixed (if not more than 2 colors, keep them for the future blend constituting the secondary colors …) and put them in the fridge with pots (if you often made painting sessions, you can leave them in the tray (as you renouvelerez more often), with brushes, towels, sheets: everything will be on hand).
– Wash and dry the brush head up.
– Use water tank next to your dish (for that matter)!
– When the sheet is dried, it comes off alone of the board. It is normal that the colors are slightly less bright / free drying.
– Attach the wall (these efforts were worth the time, right?)
