Binding book homemade!
Small presentation of a working binding homemade books.
 |
| Princess stories that deserve to be protected! |
The idea is to connect all the books made by children who are damaged in their library. For starters I read them together and I added a sheet folded in two for protection.
 |
| 4 holes |
 |
| Sewing. |
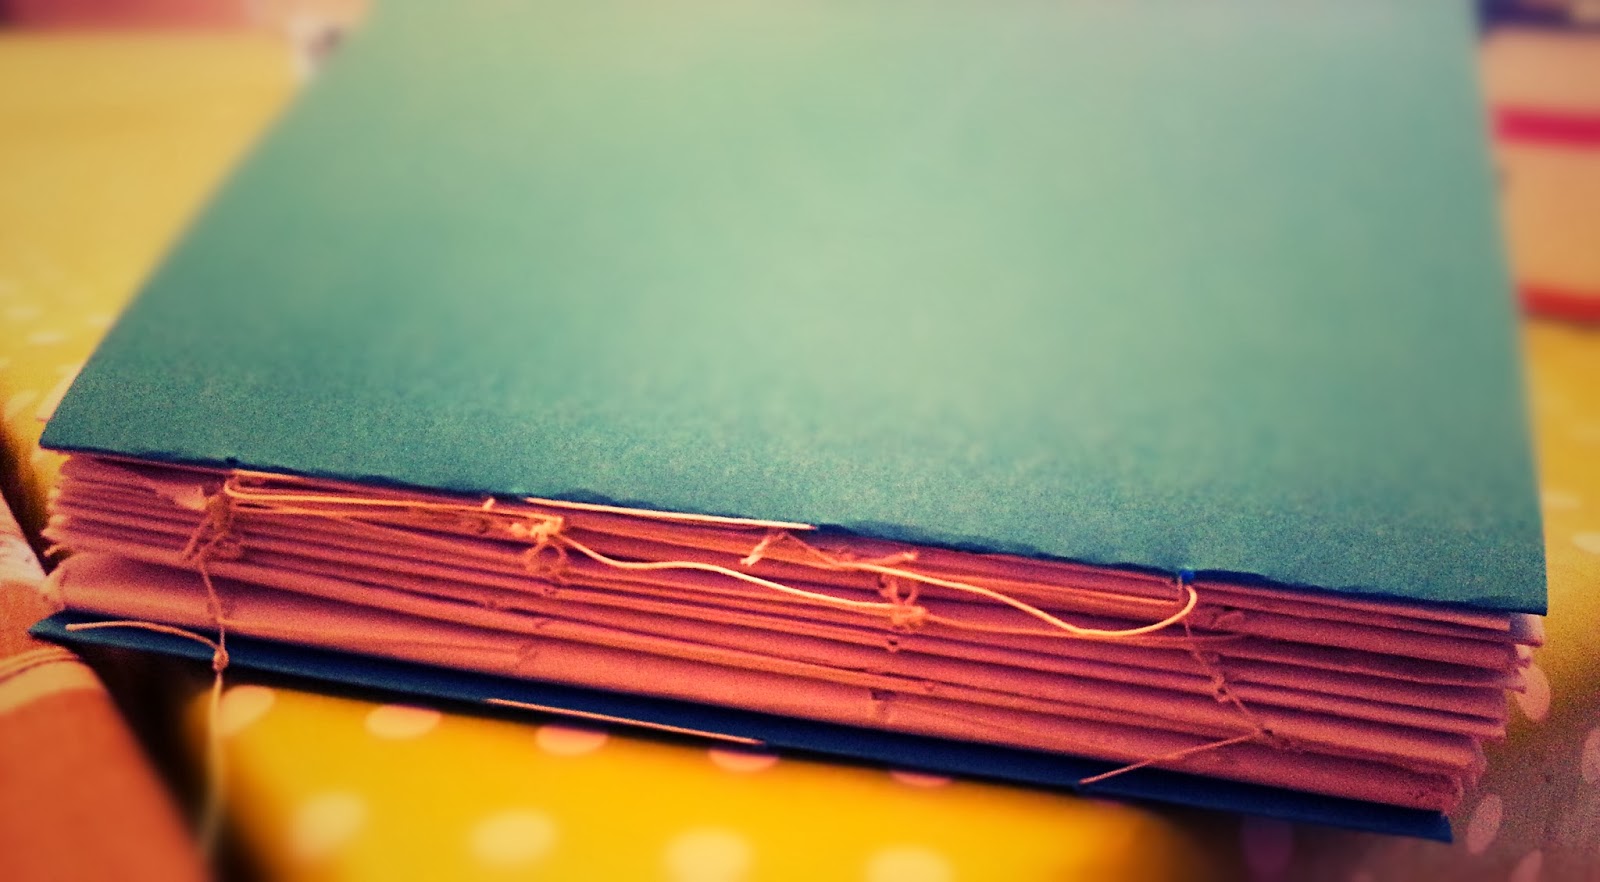 |
| All stories are sewn together. For a more solid work I could undo all previous seam and start by linking together all the books … but … lack of time, I hope that will be enough! |
When it comes to connect a set of blank pages (for our own journal), we will assemble the booklets (16 pages composed of 4 folded sheets so) while sewing, as shown in this diagram:
 |
| Fabriqué à main une : le blog créatif humoristique! |
To solidify the whole, I added a kind of strainer. Sewings are well protected. I add a small surfil (here a little too big for my taste).
 |
| Little resistant strainer. In addition it can be very pretty in collages! |
 |
| The sheets! Turning to the cover … |
While the leaves dry, I attack coverage. I cut in gray cardboard slightly larger rectangles that pages (page width + thickness chipboard length + 5mm).
 |
| The gray boxes that serve as cover. |
In the back, a gray cardboard rectangle of the same height as the pages (here too short but I was on scraps) and wide as the whole book (measured on the side seam without increasing the size.)
 |
| Taking his pencil marks facilitate bonding. Bookbinding glue is strong and it is difficult to change your mind once posed elements. |
Between the back and the pages you leave 1 cm.
We glue everything on tissue paper (you can create paper tissue before and especially not to stick the cards directly on the tissue because the glue may escape: there would be everywhere!)
We replit the edges.
 |
| Special attention to corners. |
The best glue remains the special glue binding. I found my happiness at Cleopatra. I use them for all my glue cardboard and paper crafts … finally a glue that sticks! Personally I do not support glue stick! !
 |
| It’s time to bind all |
When everything is dry, we go to the final assembly! We glue the front page on all the sheets, which covers the strainer. We glue the other page of the same sheet on the cover.
 |
| A princess book needs pink! |
 |
| The hardest part is to skip bubbles. |
 |
| Let it dry |
It leaves dried under a big, heavy book and … ta da!
 |
| I love this homemade book! |
All our stories are now well protected. It only remains to write the summary of the book and number the pages 🙂